
To integrate the Analytickit JavaScript code into a Joomla website so that it appears on all pages, you can follow these steps:
- Access the Joomla Administrator Panel: Log in to the Joomla backend by visiting your website’s admin URL (usually something like
yourwebsite.com/administrator). - Open the Template Manager: In the Joomla Administrator Panel, go to “Extensions” and then select “Templates.” This will take you to the Template Manager.
- Edit the Template: In the Template Manager, you’ll see a list of templates. You need to edit the template that is currently being used for the site (usually marked as default). Click on the template name to edit it.
- Locate the Template’s Index File: Once you’re in the template editing area, you must locate the
index.phpfile. This file controls the overall layout of your Joomla site. You can usually find it under the “Editor” tab. - Insert the JavaScript Code: In the
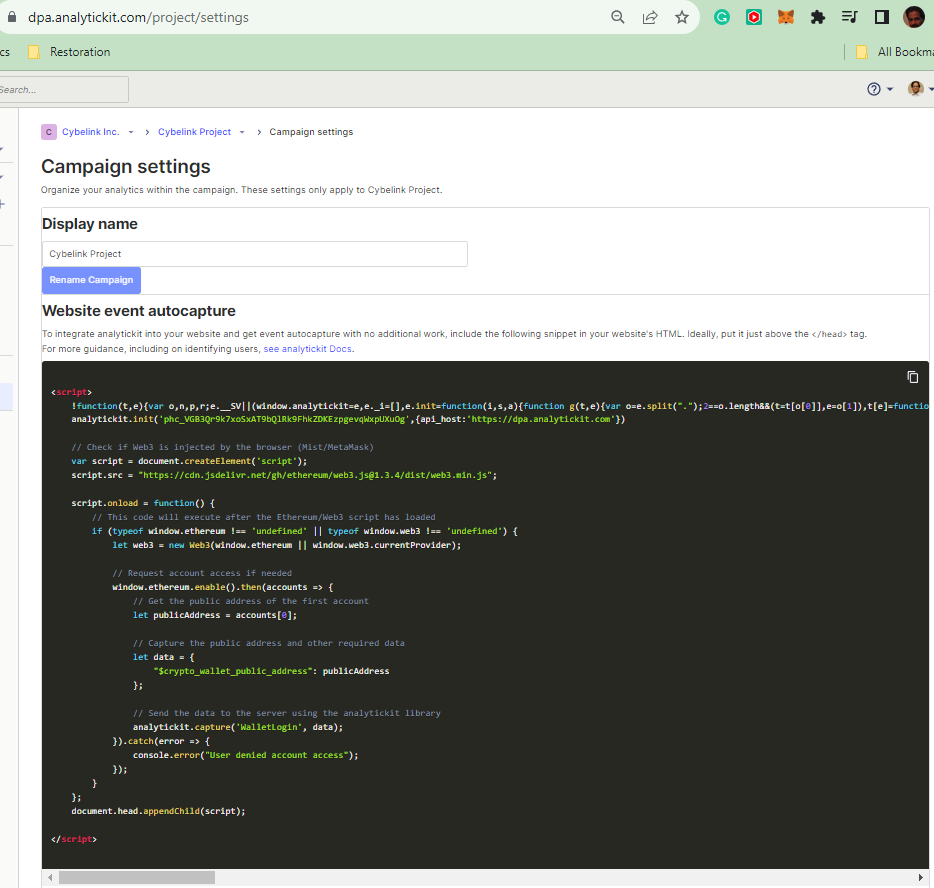
index.phpfile, scroll down to the<head>section or just before the closing</head>tag. This is typically a good place to insert JavaScript code so that it loads on every page. Paste your JavaScript code here. - Save the Changes: After pasting the code, make sure to save your changes. Click the “Save” or “Save & Close” button.
- Test the Integration: Visit your website and check if the script works as intended. You can view the page source or use browser developer tools to confirm that the script loads on every page.
- Inform Your Customers: Provide these instructions to your customers who use Joomla so they can integrate your JavaScript code into their websites.
Remember, editing the template’s index.php file will apply the changes to all pages using that template. If your Joomla site uses multiple templates, you must repeat these steps for each template.
Also, it’s a good practice to create a backup of the index.php file before making any changes in case you need to revert to the original version.